Camera Set Up
Setting Up Your Camera for Photography Shoots
Welcome to the world of photography! In this lesson, we will cover the essential camera settings you need to understand when preparing for a photography shoot. Whether you’re shooting landscapes, portraits, or action shots, knowing how to set up your camera is key to capturing great images.
Understanding the Exposure Triangle
Before diving into individual settings, let’s explore the exposure triangle, which is fundamental to achieving the right brightness and clarity in your photos. It consists of:
- ISO: Controls the camera’s sensitivity to light.
- Aperture (f-stop): Controls the amount of light entering the lens and affects depth of field.
- Shutter Speed: Controls the duration the camera’s sensor is exposed to light, affecting motion blur or freeze.
Balancing these three elements is crucial for properly exposed images.
Quick Example:
- Low light? Increase ISO, widen the aperture (low f-stop number), or slow down the shutter speed.
- Want a sharp image with motion frozen? Use a fast shutter speed but be mindful of the light.
- Click on the link for a more in depth explanation of The Exposure Triangle
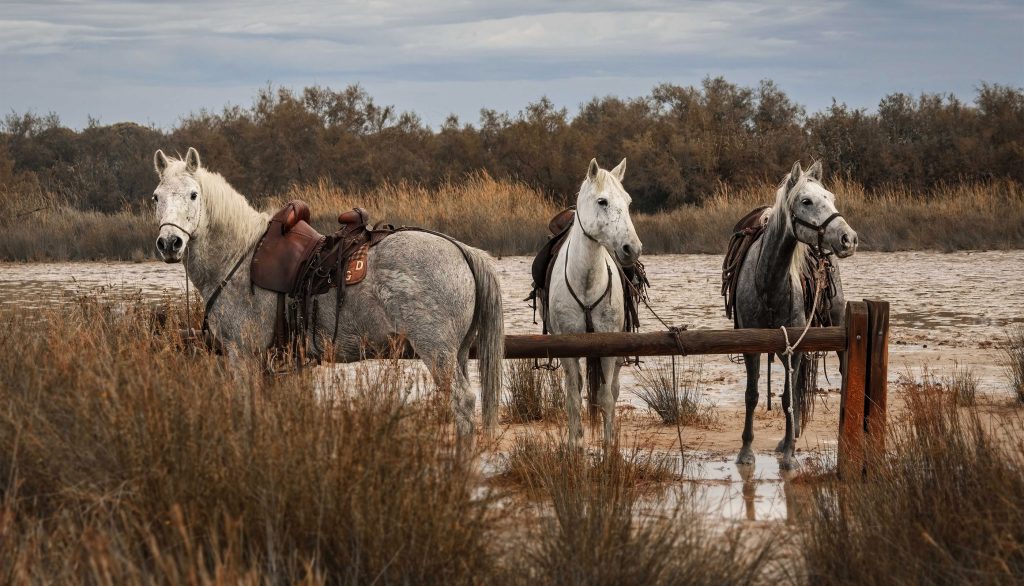
Step-by-Step Camera Setup
Choose the Right Shooting Mode
Cameras offer various shooting modes. For beginners, I recommend starting with these two:
Aperture Priority (A or Av): You control the aperture, and the camera sets the shutter speed. Great for controlling depth of field.
Shutter Priority (S or Tv): You control the shutter speed, and the camera sets the aperture. Useful for freezing or blurring motion.
Once you’re comfortable, you can experiment with Manual Mode (M) for full control over all settings.
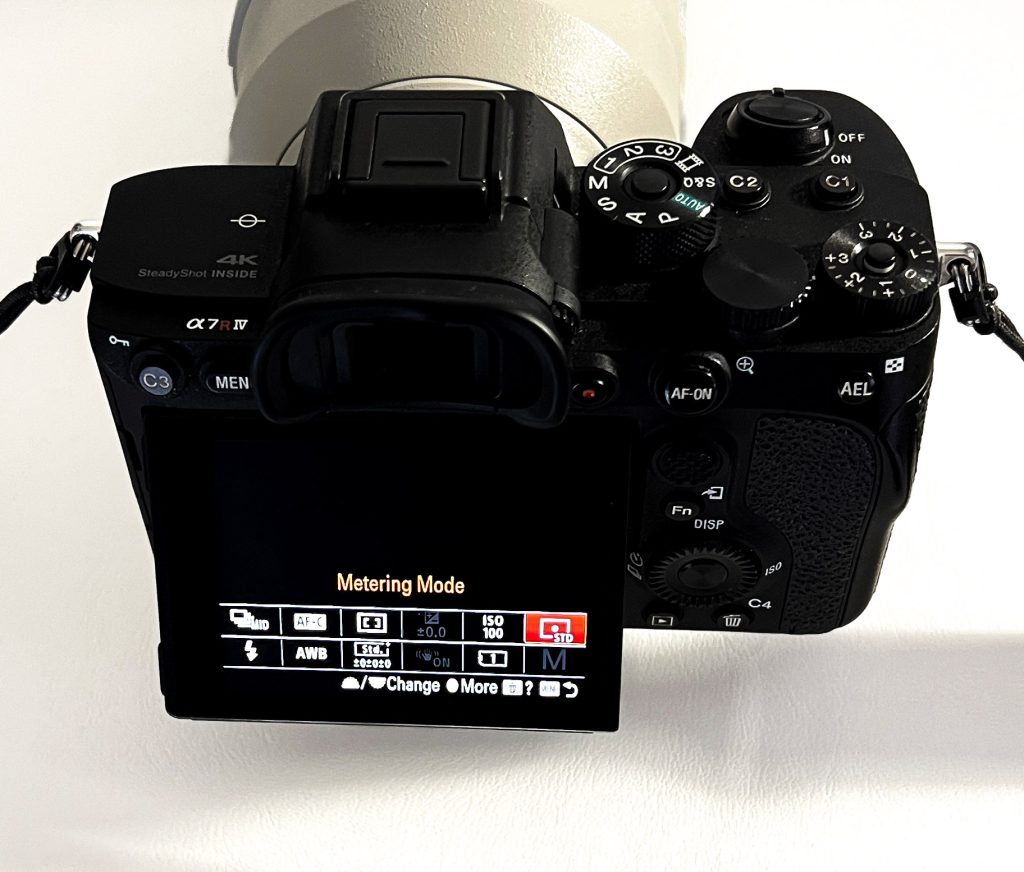
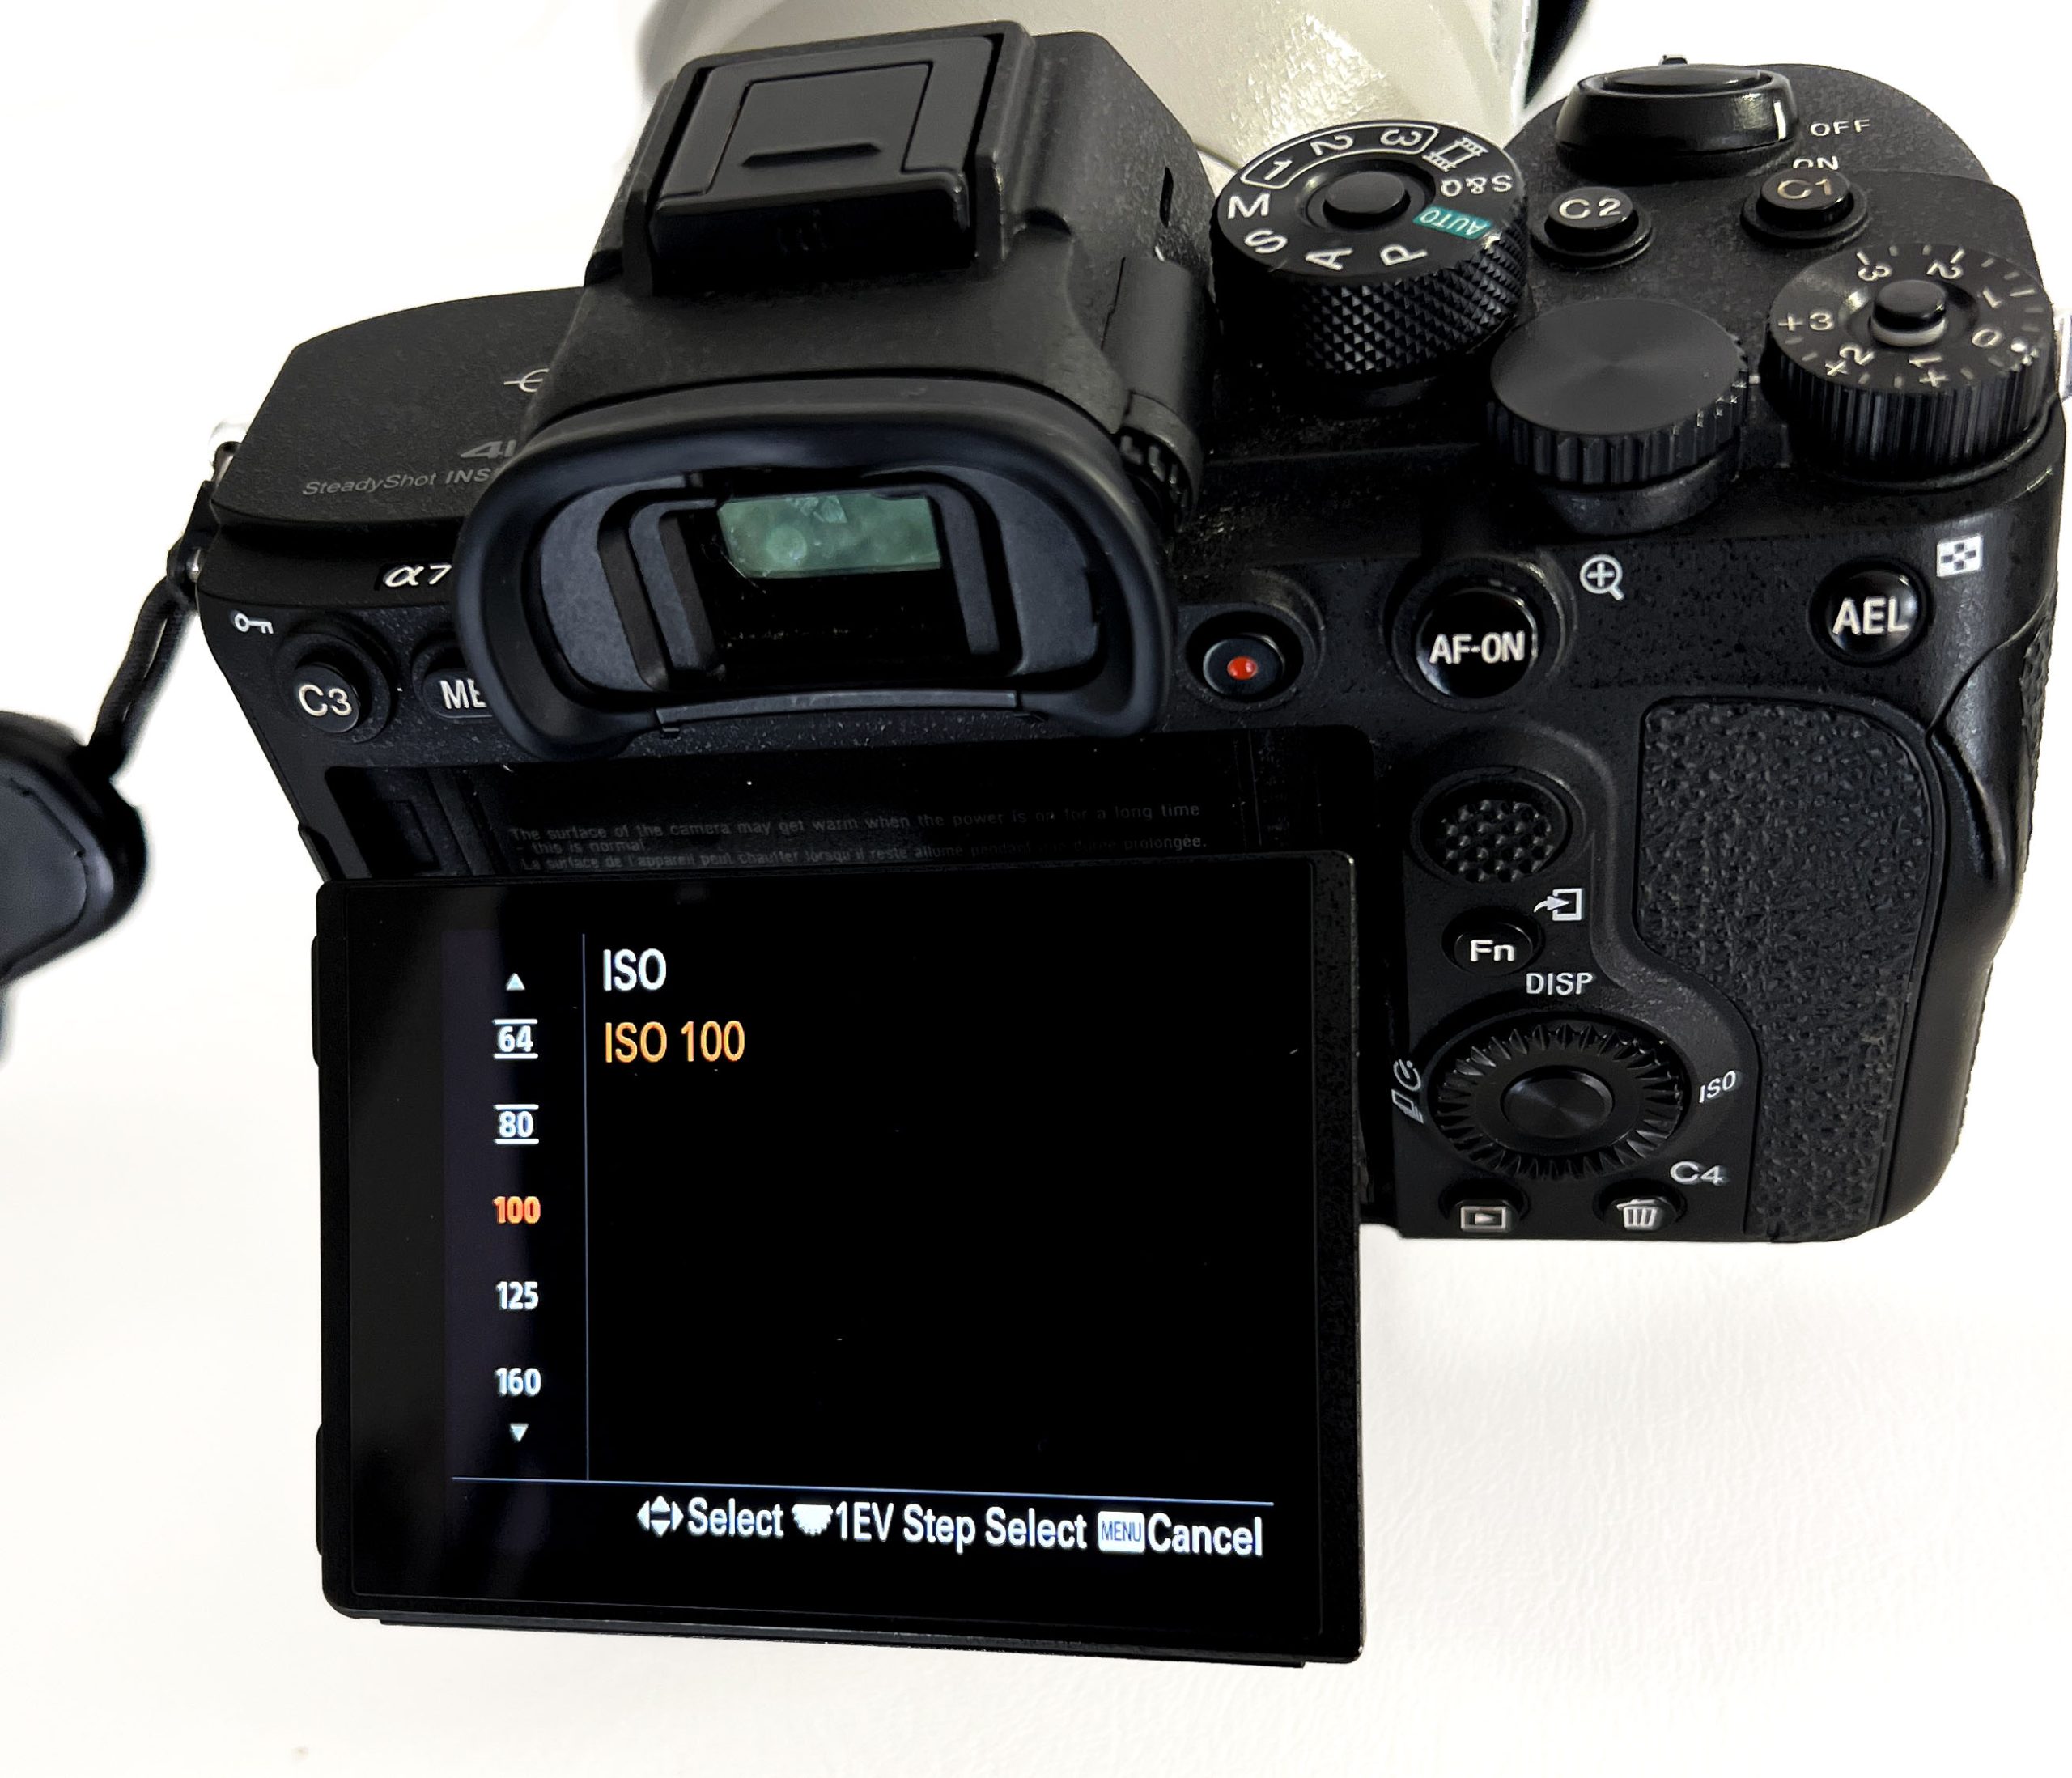
Set the ISO
ISO controls how sensitive your camera’s sensor is to light. The lower the ISO, the less sensitive, resulting in less noise (graininess) in the image.
Daylight/outdoors: Start with ISO 100-400.
Indoors/low light: Increase ISO to 800 or higher but remember that higher ISO values introduce more noise.
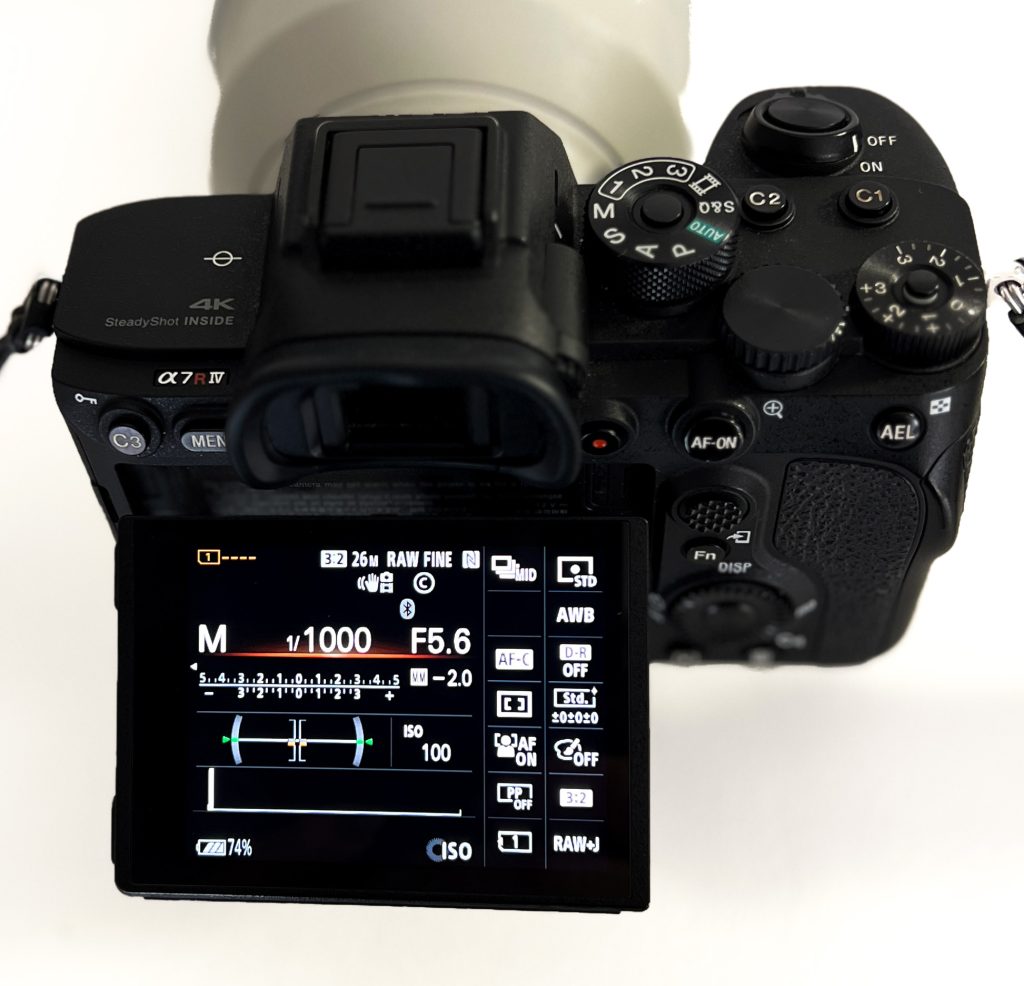
Adjust Aperture (f-stop)
Aperture controls how much light enters the lens and affects depth of field (the part of the image that remains in focus).
Low f-stop number (e.g., f/1.8 – f/4): More light enters, creating a shallow depth of field (blurry background, great for portraits).
High f-stop number (e.g., f/8 – f/16): Less light enters, but a larger area is in focus (useful for landscapes).
Set Shutter Speed
Shutter speed determines how long the sensor is exposed to light and how motion is captured.
Fast shutter speed (e.g., 1/500 sec or faster): Freezes action, useful for sports or wildlife.
Slow shutter speed (e.g., 1/30 sec or slower): Introduces motion blur, good for capturing movement like flowing water or light trails.
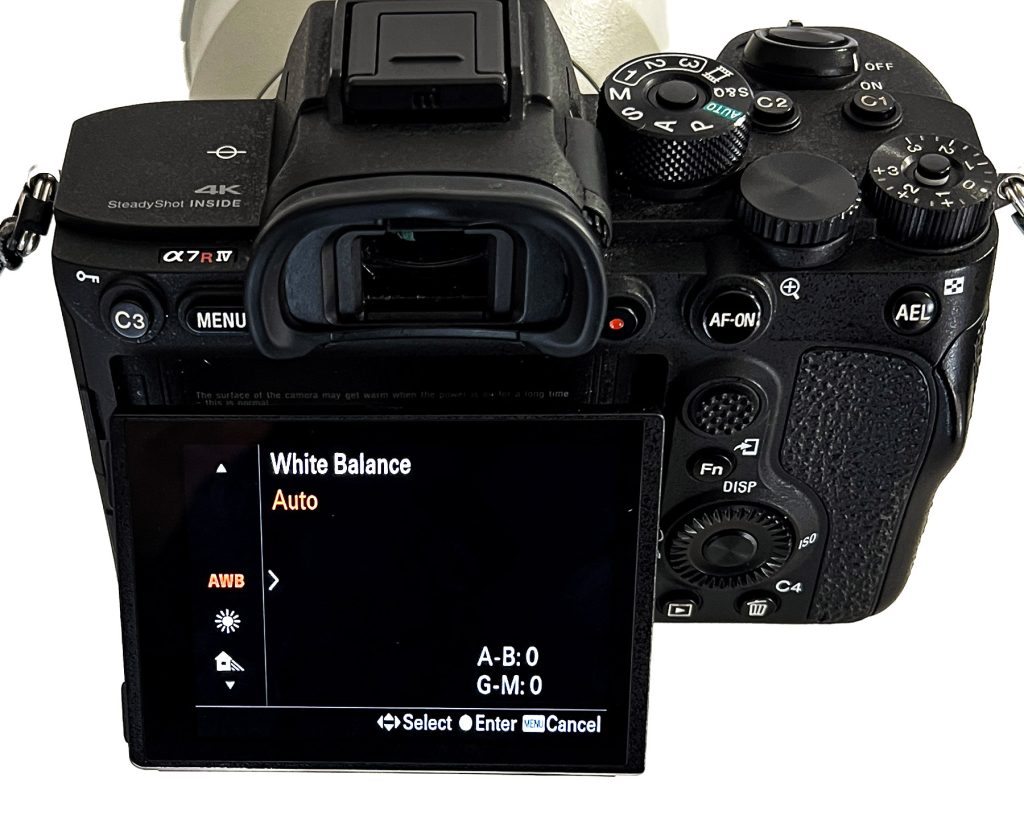
Set White Balance
White balance adjusts the colour temperature in your images. Using the wrong white balance can make images too warm (yellow) or too cool (blue).
Auto White Balance (AWB) is a good starting point, but for specific lighting conditions, choose from presets like:
Daylight (for sunny conditions)
Cloudy (adds warmth on overcast days)
Tungsten (for indoor incandescent lighting)
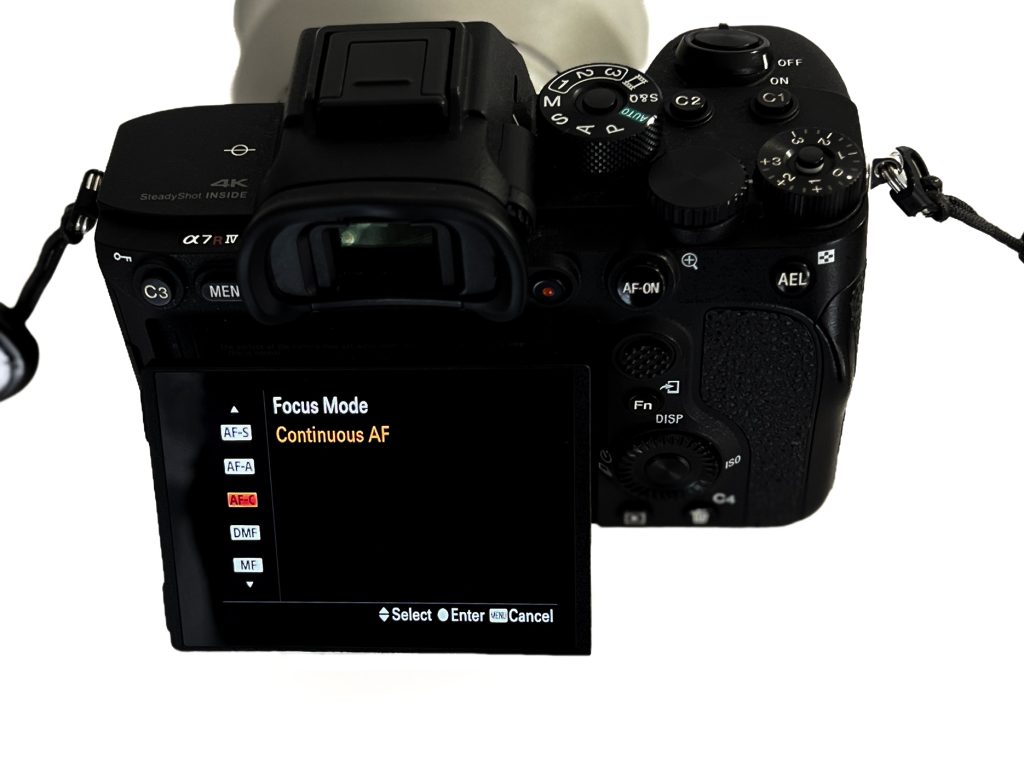
Focus Mode
Single AF (AF-S/One-Shot AF): Locks focus when you half-press the shutter. Ideal for still subjects.
Continuous AF (AF-C/AI Servo AF): Continuously adjusts focus as you follow a moving subject. Great for action shots.
Make sure the camera is set to auto-focus unless you’re confident using manual focus.
Customizing for Different Shoots
Depending on your subject, here are some specific settings to consider – as a starting point:
Landscape Photography
Mode: Aperture Priority (A/Av)
Aperture: f/8 to f/16 for greater depth of field
ISO: 100 for sharpness
Shutter Speed: Camera will set it for you; use a tripod if it’s slow
Portrait Photography
Mode: Aperture Priority (A/Av)
Aperture: f/2.8 to f/4 for blurred background
ISO: 100-400 in good light
Shutter Speed: Fast enough to avoid camera shake, e.g., 1/125 sec or faster
Action or Sports Photography
Mode: Shutter Priority (S/Tv)
Shutter Speed: 1/500 sec or faster to freeze motion
ISO: 400-800 depending on lighting
Aperture: Camera will adjust, but keep it wide (low f-stop) for faster shutter speeds
Night Photography
Mode: Manual (M) or Aperture Priority (A/Av)
ISO: 800-1600 to capture more light
Aperture: f/2.8 to f/5.6 to allow more light
Shutter Speed: Slow, use a tripod to avoid blur
Click on the link for a more in depth explanation of The Photography Genres
Practical Tips for Better Shots
- Use a Tripod: Essential for long exposures, night shots, and when you need the steadiest images.
- Shoot in RAW: If your camera supports it, shoot in RAW format. It preserves more detail and allows for more flexibility in post-processing.
- Check the Histogram: The histogram is a graphical representation of your exposure. Ensure your highlights aren’t clipped (pushed to the right) or shadows too dark (pushed to the left).
- Experiment and Review: Take the time to review your shots after adjusting settings. Don’t be afraid to try different combinations to see how they affect the outcome.
Summary: Quick Checklist
- Set Shooting Mode: Aperture Priority or Shutter Priority.
- Adjust ISO: Based on light conditions.
- Set Aperture or Shutter Speed: Based on the effect you want (depth of field or motion).
- Check White Balance: Set to match your environment.
- Choose Focus Mode: Single for still subjects, Continuous for moving subjects.
Shoot in RAW: If possible, for better editing options later
Melanie Sharp is a photographer and zootographer, click on the link to fnd out more [link to about us]. These lessons are offered to our members for free. If you would like a copy of this lesson for reference, please email me and i will send you a digital copy for print or storage. Please do not share this content with social media or other people, reproduce it or distribute it. Contact me on [email] for more information and your download link.
Please join me on Instagram, My Portfolio or pop over to our events page for more information on meet-ups, paid membership & in person tuition. I run ‘fun days out with your camera’ at various locations across the country. Check [page] for whats coming up next.